Key Takeaways
- Peeling paint is almost always a symptom of a deeper issue like moisture intrusion, poor surface prep, or incompatible coatings rather than bad paint alone
- Scrape, sand, and clean the damaged area thoroughly before applying any new coating so the fresh layer has a stable surface to grip
- An oil-based primer creates a reliable barrier over old water-based adhesives and problem spots, reducing the chance of flaking returning
- Humidity, temperature, and drying time all affect adhesion, so check weather conditions before starting any exterior project
- Bathrooms, kitchens, and laundry rooms need mold-resistant coatings because constant steam undermines standard finishes
- Exterior causes like clogged gutters, attic airflow issues, and misaimed sprinklers often trigger paint failure from the outside in
- Catching small bubbles, cracks, or chalky patches early prevents a quick touch-up from turning into a full repaint
What Causes Paint to Peel in the First Place?
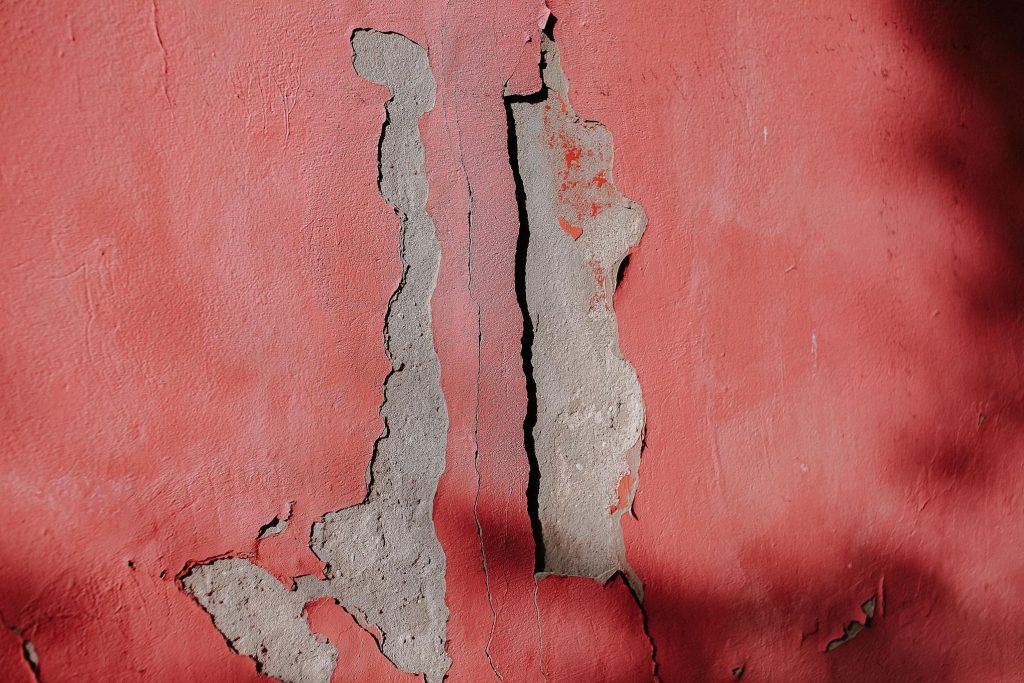
Few things make a freshly decorated room feel neglected faster than paint that curls off the wall in flaky strips. One day the finish looks smooth, the next you spot a bubble near the ceiling or a jagged patch above the skirting board. It is frustrating, but it is also fixable once you understand what is really going on behind that stubborn flaking.
Most peeling is not caused by cheap paint. It is caused by what happened before the paint was applied, or by what the wall has been exposed to since. Moisture, dust, old glossy finishes, and skipped primer are the usual suspects. Figure out the cause first, and your repair will actually last.
This guide walks you through the entire process from diagnosis to prevention. By the end, you will know exactly how to spot trouble early, strip the damaged area properly, and finish with a coating that holds up for years rather than months.
What Causes Paint to Peel in the First Place?
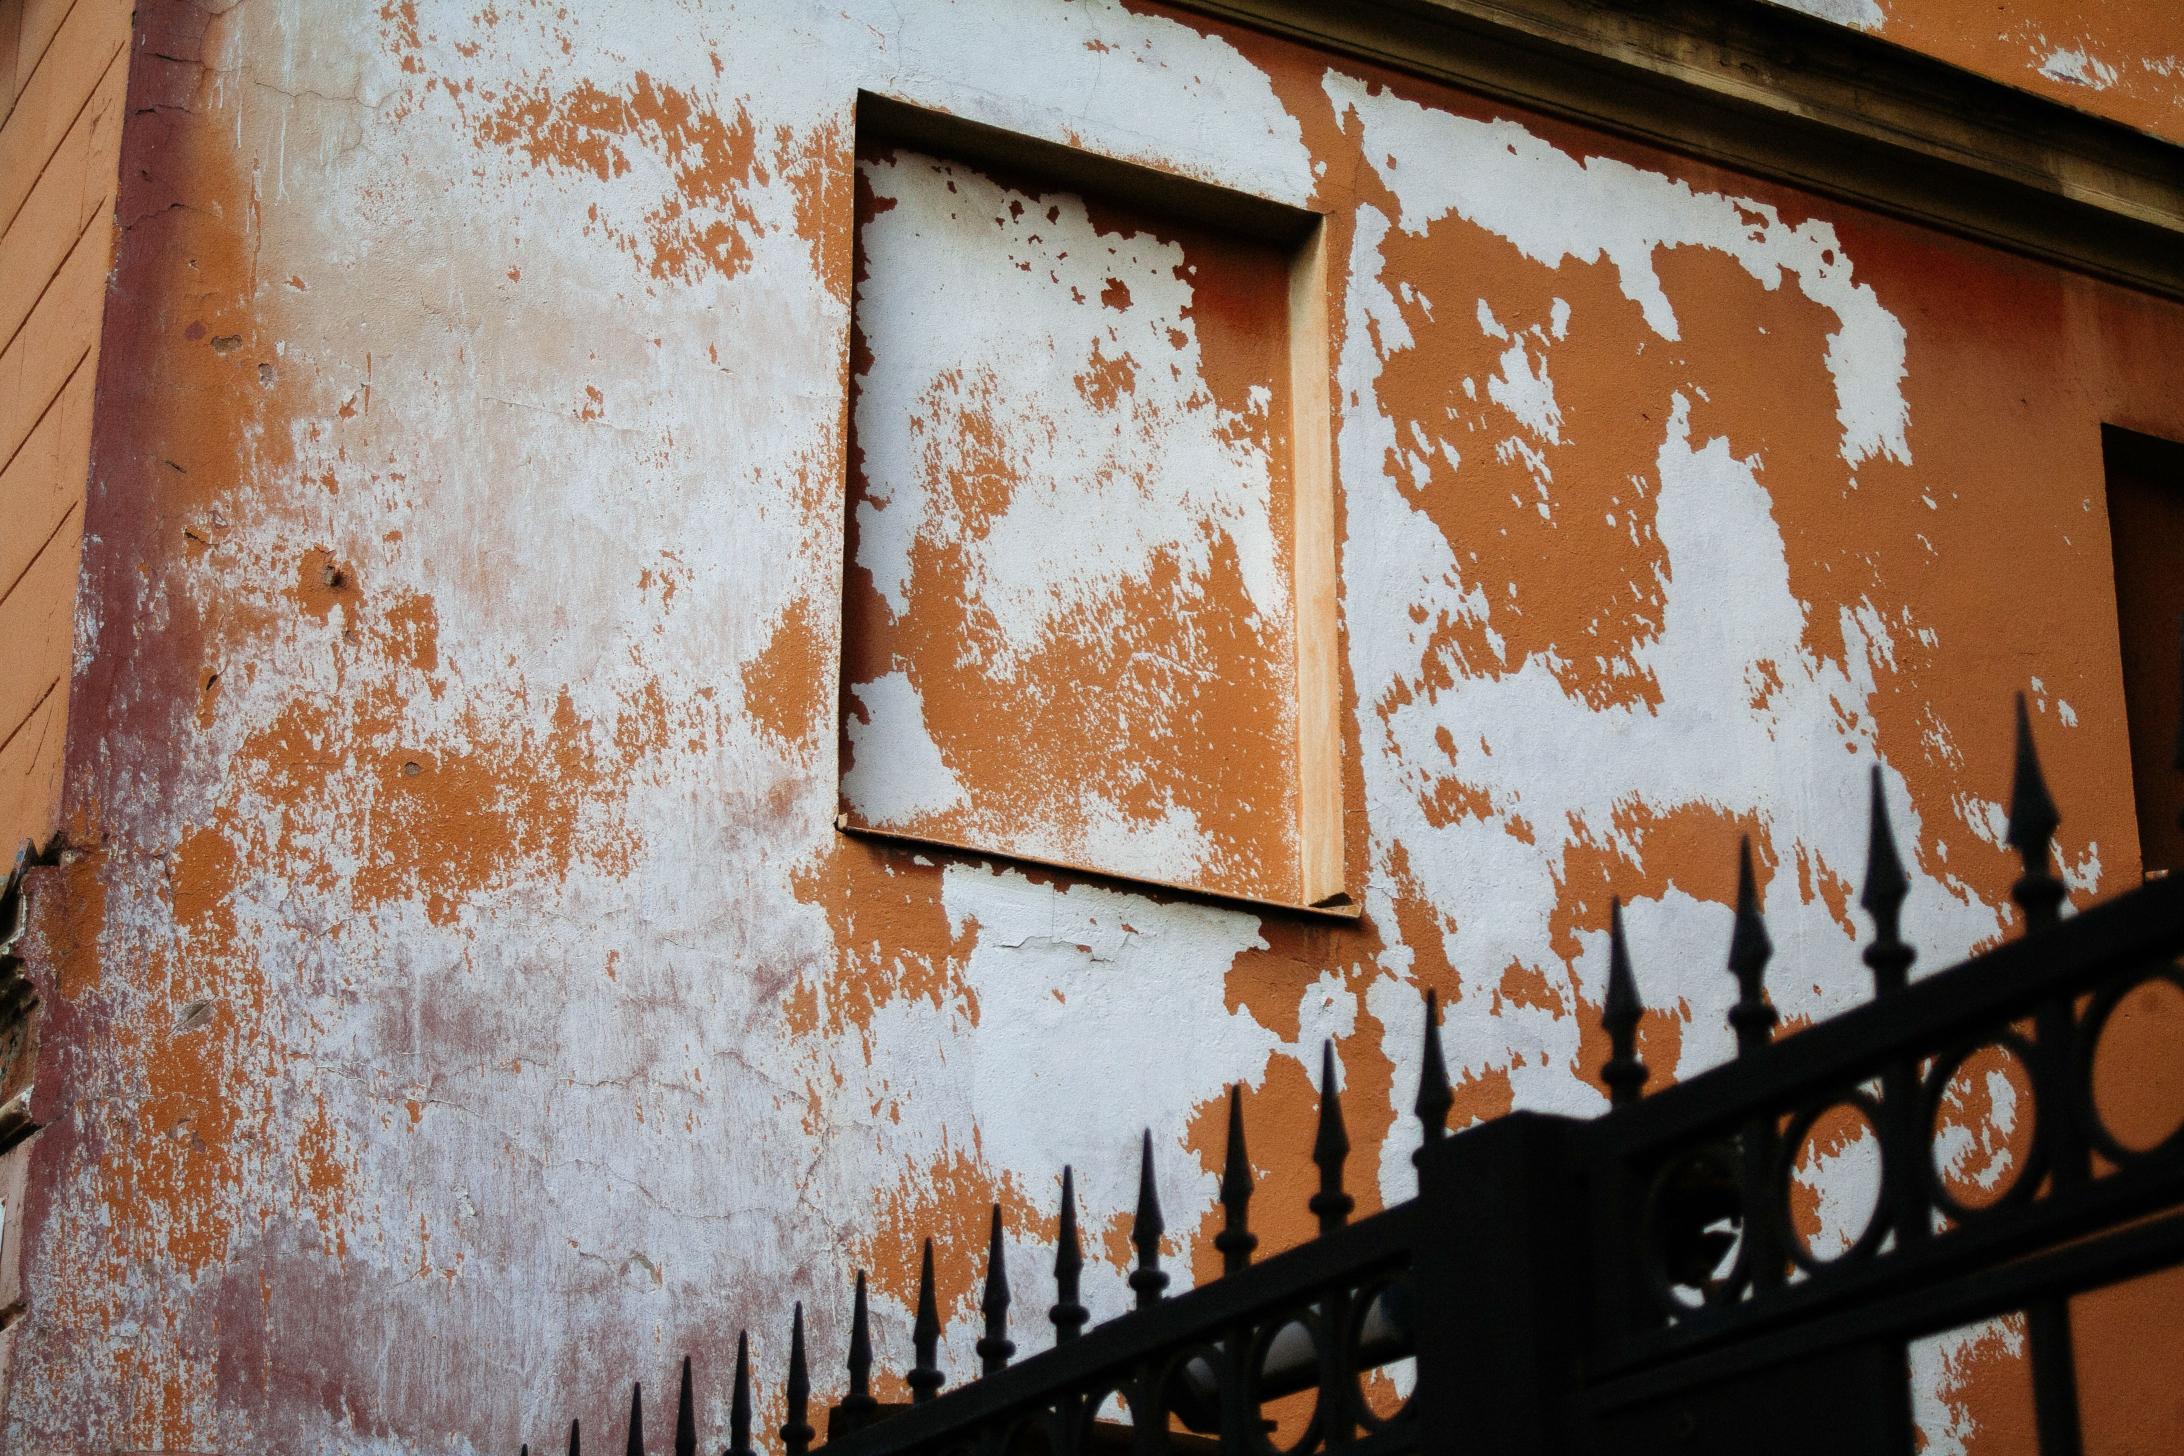
Before you reach for a scraper, take a close look at the affected area and the room around it. Paint peels for a handful of predictable reasons, and matching the symptom to the cause saves you from repeating the same mistake. A wall that peels near a window likely has condensation issues. A ceiling that bubbles above a shower has steam problems. A patch that flakes near the floor may be absorbing moisture from below.
Some causes are environmental and some are procedural. Environmental issues come from the building itself, while procedural ones come from how the last coat was applied. Both matter, and both need to be addressed before you repaint.
Here are the most common culprits to check for:
- Moisture seeping through walls from leaks, condensation, or rising damp
- Painting over a dirty, dusty, or greasy surface without cleaning
- Skipping primer on bare drywall, plaster, or a glossy old finish
- Applying latex paint directly over old oil-based coatings
- Painting in humid conditions that prevent proper curing
- Using the wrong product for a high-moisture room like a bathroom
If your paint is peeling on an outside wall, the cause often lies elsewhere on the property. According to Family Handyman, rain, snow, poor attic ventilation, overflowing gutters, and misdirected sprinklers can all push moisture into exterior paint and cause it to lift. Fixing the water source matters more than any new coat.
Gathering the Right Tools for the Job
Nothing derails a weekend project faster than starting a repair and realising you are missing a scraper, a sanding block, or the right primer. Lay out everything before you begin. A short trip to a hardware store at the planning stage saves you from pausing halfway through with a half-stripped wall staring back at you.
You do not need professional-grade equipment for most interior patches. A basic kit handles the majority of smaller problem areas, and the same tools are useful for other quick home repairs around the house. Keep them together in a labelled box so your next touch-up takes minutes to set up.
Here is a solid starter kit for repairing peeling walls:
- A flexible putty knife and a stiffer paint scraper
- Medium-grit sandpaper, around 120 to 150, plus a sanding block
- A tack cloth or lint-free rag for dust removal
- Patching compound or lightweight spackle
- A quality primer, ideally oil-based for problem areas
- Matching topcoat paint and a decent brush or mini roller
Picking the Right Primer
Primer choice makes or breaks the repair. If you are covering an old water-based coating or a surface that has previously bubbled, an oil-based primer is the safer bet. This Old House notes that an oil-based primer seals in old water-based adhesives and reduces the risk of future peeling. That single step makes a bigger difference than any topcoat.
Step by Step: How to Fix Peeling Paint on Walls
This is where the actual repair happens. Work in good light so you can see every edge of the damage, and give yourself more time than you think you need. Rushing the prep stage is the single most common reason a patch fails within months.
Follow this sequence and do not skip ahead. Each step prepares the surface for the next, and the moisture-blocking or adhesion benefits compound. For anyone searching how to fix peeling paint on walls, the actual painting is the easy part. The prep work is what determines how long the repair lasts.
Here is the full process:
- Lay down a dust sheet and tape off any skirting, sockets, or trim
- Scrape away all loose, flaking, or bubbling paint until you hit solid edges
- Sand the edges smooth so the old paint blends into the bare patch
- Wipe the area with a damp cloth, then let it dry completely
- Fill any dents or uneven spots with patching compound and sand flush
- Apply primer, let it cure fully, then finish with two thin topcoats
Feathering the Edges
The telltale sign of a bad repair is a visible outline where the old paint meets the new. To avoid this, sand the border between the stripped area and the surrounding paint at a gentle angle so the transition disappears. Run your fingertips over it with your eyes closed. If you can feel a ridge, sand more. This small habit is the difference between a patch that vanishes and one that catches the light awkwardly from every angle.
How Weather and Humidity Affect Your Repair
Weather is the silent saboteur of paint jobs. Even if your technique is perfect, applying a coating in the wrong conditions can undo everything. Moisture in the air settles into the fresh film, interferes with curing, and leaves you with the same bubbling you just repaired.
According to Hoosier Boys Painting, you should avoid painting when humidity climbs above 70 percent because excess moisture slows drying and can trigger bubbling or peeling. On damp days, open windows, run a dehumidifier, or simply wait for better conditions. Patience here pays off.
Temperature matters too. Most paints are formulated to be applied between around 10 and 30 degrees Celsius. Working outside that range leads to cracking, poor adhesion, or a finish that never hardens properly. Check the label of your specific product before starting, especially for exterior work.
Repairing Walls in Bathrooms and Kitchens
Rooms with heavy steam and splashes are the hardest places to keep paint stuck to the wall. Every shower, every pot of boiling water, every load of laundry puts moisture into the air, and that moisture lands on the ceiling and walls. Standard emulsion simply cannot cope long-term in these spaces.
The fix is to use a paint designed for the environment. Sherwin-Williams recommends mold- and mildew-resistant formulas for bathrooms and kitchens because their tighter film resists the constant cycle of wetting and drying that destroys regular finishes. Pair that with proper ventilation and you drastically cut the chance of flaking returning.
Before you repaint a steamy room, scrub the walls with a mild sugar soap solution to lift any soap residue, cooking grease, or mildew spores. Let everything dry for a full day. Then prime with a stain-blocking product rated for damp environments. Skipping this cleaning step is why so many bathroom touch-ups fail within a season.
A few habits keep moisture-prone rooms looking fresh for longer:
- Run the extractor fan during and for fifteen minutes after every shower
- Wipe condensation off walls and tiles with a squeegee or cloth
- Open a window briefly after cooking or bathing where possible
- Check silicone seals around baths and sinks twice a year
Preventing Peeling Paint from Coming Back
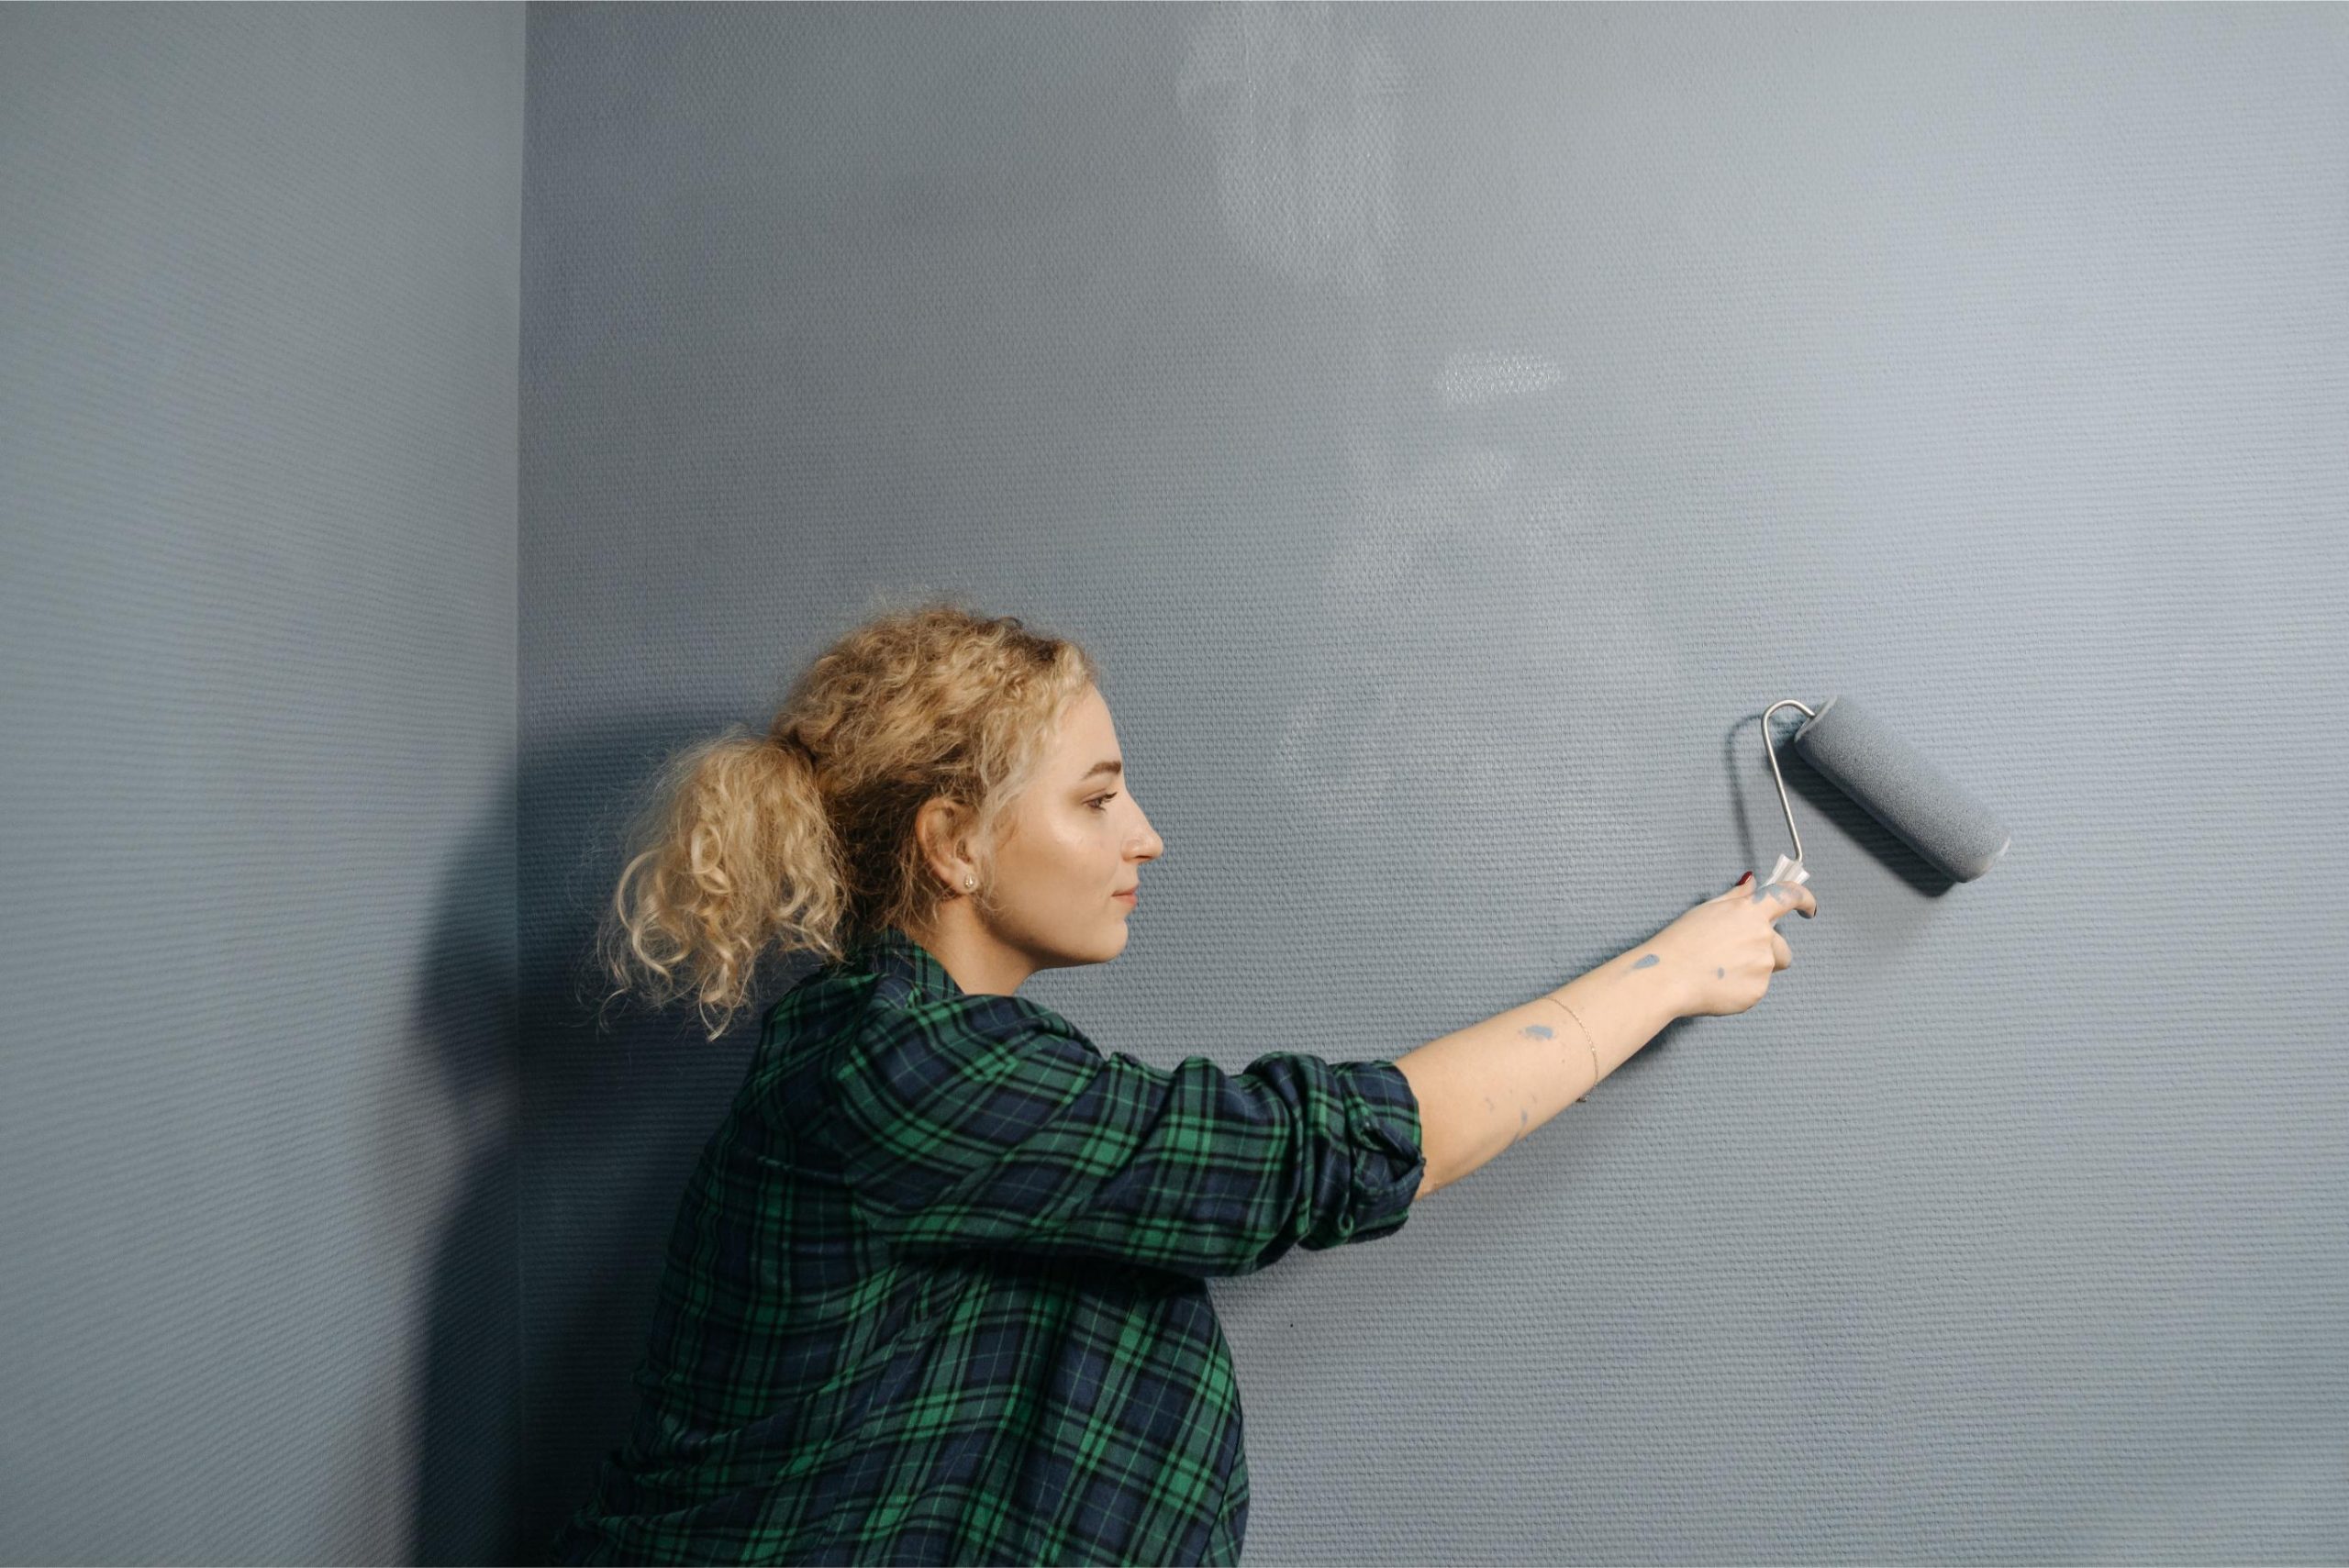
Once the repair looks clean, the goal shifts to keeping it that way. Prevention is less work than repair, and it starts with the walls you already have. Walk the house every few months and look for early warning signs: faint bubbling, hairline cracks, a chalky residue on your fingertip, or soft spots that give slightly under pressure. Catching these early turns a thirty-minute touch-up into something you barely notice.
Outside the house, keep gutters clear, direct downpipes away from the walls, and point garden sprinklers at the lawn rather than the render. Inside, watch for plumbing drips under sinks, check loft insulation for damp patches after heavy rain, and make sure trickle vents on windows stay open. Staying on top of fixing small home problems before they spread is the cheapest form of maintenance you will ever do.
Easy Habits That Protect Your Paintwork
Small routines protect a finish far more than any premium product. Try to build these into your regular household rhythm:
- Dust skirting boards and the tops of door frames every few weeks
- Spot-clean marks with a soft sponge rather than scrubbing hard
- Keep indoor humidity between 40 and 60 percent where possible
- Touch up chips and scuffs the same week you notice them
- Store leftover paint, clearly labelled, for fast colour-matched repairs
When to Call a Professional
Most peeling is a confident DIY job, and with the right prep and patience, you can tackle the majority of flaking patches yourself using the kind of home repairs most householders pick up over the years. But some situations call for an expert eye, and knowing where that line sits will save you money, time, and a lot of frustration further down the road. If the paint is lifting across an entire wall, if you see dark staining bleeding through, if there is a persistent musty smell in the room, or if the plaster underneath feels soft or crumbles when you press it with a fingertip, something bigger is happening behind the surface. A decorator or damp specialist can trace the source — whether it is a failed damp proof course, a leaking pipe in the cavity, condensation from poor ventilation, or salt contamination in old plaster — before you waste time, paint, and effort on another coat that will fail within months.
Ceilings are another area worth handing over. Peeling on a ceiling, especially one directly below a bathroom or roof space, almost always points to a water ingress problem, and working overhead on a ladder while scraping and sanding is awkward at best and unsafe at worst. The same goes for stairwells and double-height hallways, where access alone justifies bringing in someone with the right scaffolding or tower.
Older homes bring their own complications. Properties built before 1978 may have lead-based paint on original woodwork, skirting boards, window reveals, and walls, and disturbing it without proper precautions is a genuine health risk — particularly for children and pregnant women. Dry sanding or heat-stripping lead paint releases fine dust and fumes that are easy to inhale and hard to clean up afterwards. If you are unsure of the age of the coating, get it tested rather than scraping blindly; home test swabs are widely available, and a certified lab test gives you a definitive answer. The cost of a test kit is tiny compared to the consequences of exposure, and knowing how to fix peeling paint on walls safely sometimes means knowing when to step back and let a licensed abatement professional handle the removal before you repaint.
Conclusion
Peeling paint looks worse than it usually is. Once you understand that the flaking is a message rather than the problem itself, the whole project becomes manageable. Trace the cause, prep the surface patiently, choose a primer suited to the situation, and finish with a topcoat matched to the room. Each of those steps is simple on its own, and together they produce a repair that lasts years rather than months.
The walls in your home take a daily beating from steam, sunlight, knocks, and shifting temperatures. Giving them a little attention every few months keeps the paint doing its job quietly in the background. A quick walk-through with a torch, a damp cloth, and a tin of leftover paint can head off the kind of damage that eats a weekend to fix later.
Start with the worst patch you have, work through it carefully, and use what you learn on the next one. The confidence builds quickly, and before long you will spot the early signs of trouble before anyone else in the house even notices.